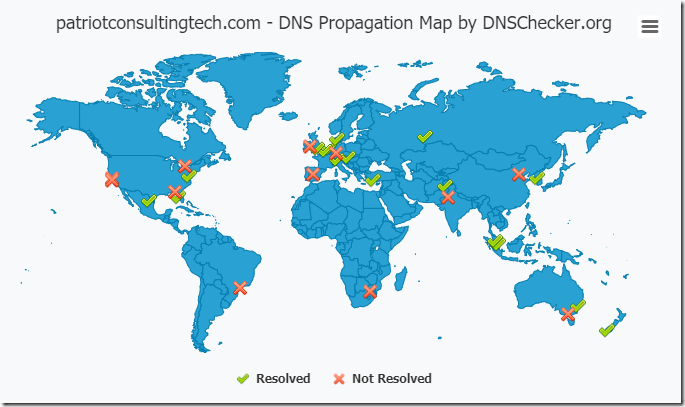
Recently we experienced an issue with Cloudflare DNS. I opened a support ticket but they were unable to explain why some locations around the world were unable to resolve our DNS MX records.
This was causing non-deliverable email problems so we decided to switch to Azure DNS.
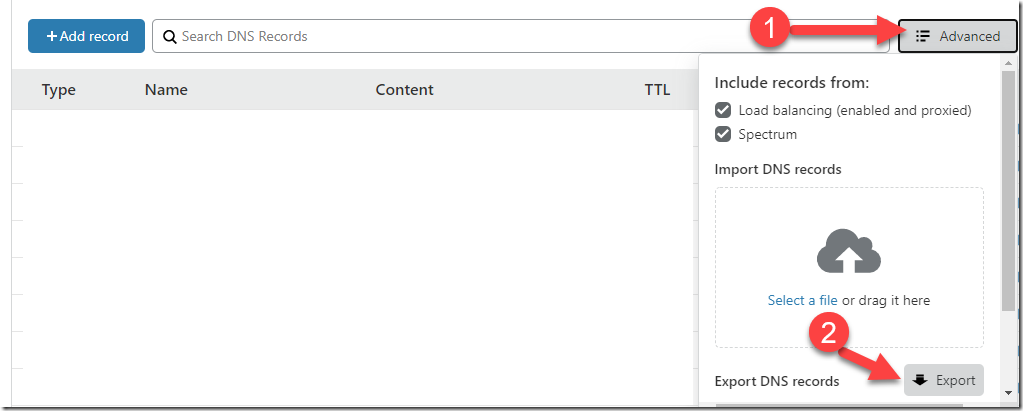
Step 1 – Export the DNS Zone from Cloudflare (Advanced –> Export)
Step 2 – Create the DNS Zone in Azure
I prefer using the Web Interface (here)
Step 3 – Import the zone file into Azure DNS
Install Azure CLI from (here)
Launch PowerShell
#Login to Azure CLI
az login
#List your Subscriptions
az account list
#Select a Subscription
az account set –subscription “My Demos”
#Make sure you see the DNS Zone that you created in step 2
az network dns zone list
#Import Zone from file (Documentation is here)
az network dns zone import -g MyResourceGroup -n mysite.com -f zone.txt
PowerShell Alternative to Azure CLI
Don’t like Azure CLI? You can also manage your zone with the regular PowerShell module:
Install-Module -Name AzureRM.Dns -Force
Install-Module -Name AzureRM.Network -Force
Connect-AzureRmAccount
Get-AzureRmSubscription
Select-AzureRmSubscription -SubscriptionName “My Demos”
Get-AzureRmDnsZone


